A B C D E F G H I J K L M N O P Q R S T U V W X Z

Password protect a subsite in a WordPress network with .htaccess

Password protect a subsite in a WordPress network with .htaccess

A wordpress network / multisite setup uses virtual directories.

When you have a wordpress network setup on www.yourdomain.com, you can have multiple blogs with only one WordPress installation, for example:

www.yourdomain.com
www.yourdomain.com/johndoe
www.yourdomain.com/janedoe

Suppose you want to password protect only one subsite e.g. ‘janedoe’, you can’t just create a ‘janedoe’ folder on your webserver with a particular .htaccess in it.

You need to create a secured environment for the virtual folder in your main .htaccess (where all other WordPress rules reside) using the following code:

1
2
3
4
5
6
7
8
9
SetEnvIfNoCase Request_URI "^/janedoe/" SECURED
AuthType Basic
AuthName "restricted area"
AuthUserFile /home/mydomain/.htpasswd
require valid-user
Satisfy any
Order allow,deny
Allow from all
Deny from env=SECURED

From: https://nex.be/password-protect-subsite-wordpress-network-htaccess/

See also: https://wordpress.stackexchange.com/questions/176128/password-protect-a-single-site-on-network

PHP

PHP is an open source script language that is often used to communicate with databases and can be easily integrated into html.

https://www.php.net/manual/de/intro-whatis.php

Dockerizing PHP

PHP can be dockerized. This means creating and running a container that contains php scripts and serves them using a webserver like apache. This can be useful when php is used as an API solution.

Dockerfile

To use php we need to create a Dockerfile which can then be used to start a single container, or included in a docker-compose setup.

1  FROM php:7.4-apache
2  COPY src/ /var/www/html
3  RUN docker-php-ext-install mysqli pdo pdo_mysql

How does it work?

Line 1: Use the official php image from the Dockerhub as base image. By specifying 7.4-apache we choose an image that includes an apache-server to serve the scripts.

Line 2: Copy any php files from a directory (in this case it is called „src“) to the folder „var/www/html“ in the container, so it can be served.

Line 3: Install php extensions if necessary, e.g. mysqli or pdo

docker-compose

With the Dockerfile set up we can create a service in a docker-compose file:

services:
  php:
    build: ./php
    container_name: php
    volumes:
      - ./php/src:/var/www/html
    ports:
      - "7000:8080"

How does it work?

build signifies the context that should be used to create the container. In this case, everything related to the container, including the Dockerfile is located in a folder called „php“, so it’s location is given here.

container_name: php gives the container a name under which it can be accessed once created

volumes mounts the local folder „php/src“ that includes all the php scripts to the folder „var/html/www“ in the container. That way, the container and the local folder will be synchronized and scripts can be edited on the local machine

ports php is running on port 8080 in the docker container. You can forward it to any unused port on a local machine by changing the first port number.

Portainer

Installation

Create the volume that Portainer Server will use to store its database:
docker volume create portainer_data

Download and install the Portainer Server container:
docker run -d -p 8000:8000 -p 9443:9443 --name portainer --restart=always -v /var/run/docker.sock:/var/run/docker.sock -v portainer_data:/data portainer/portainer-ce:latest
– Run the container in daemon mode (-d)
– Expose the ports 8000 and 9443 to the public since they are needed to manage the Portainer Server (-p 8000:8000 -p 9443:9443)
– Name the container portainer (--name portainer)
– Set the restart policy to always so the container will start automatically when docker is started (--restart=always)
– Grant the container read-write access to the docker socket (this will enable the container to manage docker containers) (-v /var/run/docker.sock:/var/run/docker.sock)
– Mount the previously created volume portainer_data as /data inside the container (-v portainer_data:/data)
– Use the latest version of the image portainer/portainer-ce (Portainer Community Edition – for Business Edition or Enterprise Edition use portainer/portainer-ee) (portainer/portainer-ce:latest)

Logging in:
https://your-fancy-hostname:9443/
– Open this link inside of a modern browser after you have replaced your-fancy-hostname with the hostname or ip address of the host machine.

RDMO – Research Daten Management Organizer

RDMO is a tool to support the systematic planning, organisation and implementation of the data management throughout the course of a research project. RDMO is funded by the Deutsche Forschungsgemeinschaft (DFG).

Home Page
https://rdmorganiser.github.io
Source code
https://github.com/rdmorganiser/rdmo
Documentation
http://rdmo.readthedocs.io
Mailing list
https://www.listserv.dfn.de/sympa/subscribe/rdmo
Slack
https://rdmo.slack.com
Demo
https://rdmo.aip.de

https://rdmo.readthedocs.io/en/latest/installation/index.html

An installation of RDMO contains of three parts:

  1. A directory which holds all the settings and customisations, custom to your installation of RDMO. We will call this directory rdmo-app, but you can use any name you see fit.
  2. The actual rdmo package, which is centrally maintained by the RDMO team, is installed as a dependency in a virtual environement.
  3. A database to store the content, which is generated by the users of your RDMO installation. Currently, we support Postgres, MySQL, and SQLite.

This chapter shows how these components are set up. Optional components can be installed afterwards and are covered under Configuration.

For testing and development, you can run RDMO using your regular user account. On a production system, a dedicated user account should be used. We suggest to create a user called rdmo with the group rdmo and the home directory /srv/rdmo: sudo adduser rdmo --home /srv/rdmo . We will use this user throughout this documantation.

Do not use the root user to run RDMO! It is a bad idea anyway and several steps of the installation will not work. sudo is used in the installation when needing root-privileges to install packages.

React-leaflet

Basic Introduction

React Leaflet provides bindings between React and Leaflet. It does not replace Leaflet but leverages it to abstract Leaflet layers as React components.

React Leaflet uses React’s context API to make some Leaflet elements instances available to children’s elements that need it.

Each Leaflet map instance has its own React context, created by the MapContainer component. Other components and hooks provided by React Leaflet can only be used as descendants of a MapContainer.

Lifecycle process

  1. The MapContainer renders a container <div> element for the map. If the placeholder prop is set, it will be rendered inside the container <div>.
  2. The MapContainer instantiates a Leaflet Map for the created <div> with the component properties and creates the React context containing the map instance.
  3. The MapContainer renders its children components.
  4. Each child component instantiates the matching Leaflet instance for the element using the component properties and context, and adds it to the map.
  5. When a child component is rendered again, changes to its supported mutable props are applied to the map.
  6. When a component is removed from the render tree, it removes its layer from the map as needed.

Installation

’npm‘ can be used to install React leaflet and its dependencies.

React, React DOM and Leaflet are required peer dependencies. We must add them to our project if they are not already installed:

npm install react react-dom leaflet

Then we can install React Leaflet:

npm install react-leaflet

Modules can then be imported using bare specifiers when supported by a bundler such as webpack

import { MapContainer } from ‚react-leaflet/MapContainer‘
import { TileLayer } from ‚react-leaflet/TileLayer‘
import { useMap } from ‚react-leaflet/hooks‘

Alternatively, all the components and hooks can be imported from the module entry-point:

import { MapContainer, TileLayer, useMap } from ‚react-leaflet‘

Setup

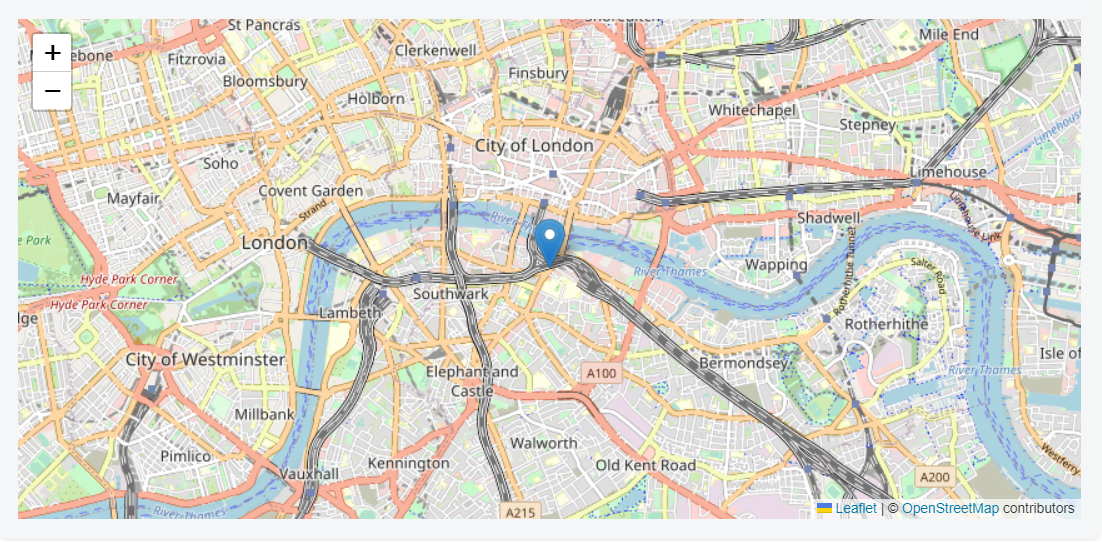
Use the following code:

<MapContainer center={[51.505, -0.09]} zoom={13} scrollWheelZoom={false}>
<TileLayer
attribution=’&copy; <a href=“https://www.openstreetmap.org/copyright“>OpenStreetMap</a> contributors‘
url=“https://{s}.tile.openstreetmap.org/{z}/{x}/{y}.png“
/>
<Marker position={[51.505, -0.09]}>
<Popup>
A pretty CSS3 popup. <br /> Easily customizable.
</Popup>
</Marker>
</MapContainer>

Result


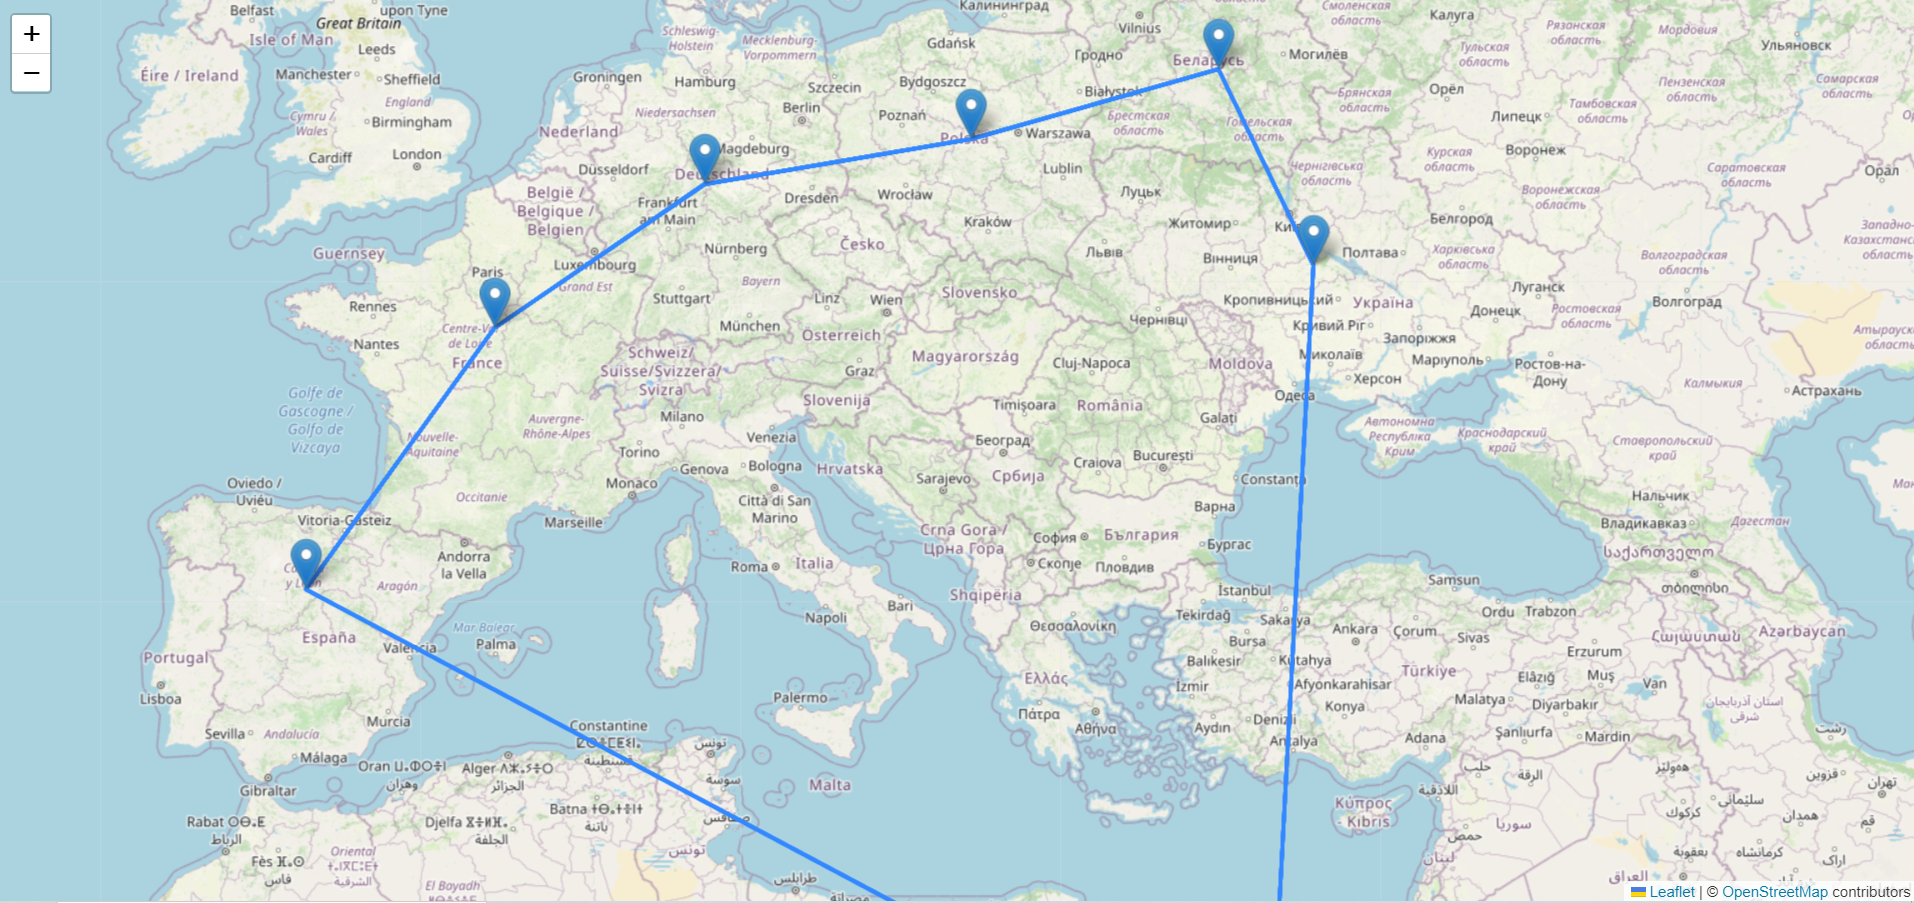
Example to visualize multiple locations with markers


return (
    <div style={{ height: ’50px‘ }} id=“map“>
      <MapContainer center={[51.505, -0.09]} zoom={13} scrollWheelZoom={true}>
        <TileLayer
          attribution=’&copy; <a href=“https://www.openstreetmap.org/copyright“>OpenStreetMap</a> contributors‘
          url=“https://{s}.tile.openstreetmap.org/{z}/{x}/{y}.png“
        />
        {
          markerData.features.map((data) => {
            return (
              <Marker position={[data.geometry.coordinates[1], data.geometry.coordinates[0]]}>
                <Popup>
                  {data.properties.country}
                </Popup>
                <Polyline
                  positions={mapData}
                />
              </Marker>
            )
          })
        }
        <LocationMarker />
      </MapContainer>
    </div>
  );

Output


Still having trouble? Use the react-leaflet tag on Stack Overflow. 😉


React.js frontend und PHP backend

https://www.techvariable.com/blog/integrating-react-js-into-a-php-application/

„Now can we use React js with Php ?

Yes. This is possible. Reactjs is just the ‘V’ in MVC. React doesn’t care what you are using at backend. One can render React’s components on server side in PHP using V8Js PHP extension, but this is not necessary. Server side rendering in Reactjs is optional. Here are some things you can do:
1. Compile your whole reactjs JSX code using babel. It would be better if you make use of some module bundler like webpack and compile your reactjs code into a single file. Upload that single file on your server.
2. You can populate default states in your react code using php.
The best way to use PHP as backend with React Js as front end is to keep both seperate. Make a stand alone front-end and use PHP to create APIs which interacts with the database. Then consume the API through HTTP AJAX or whatever mechanism React Js contains.